
Welcome to this architectural visualization top tips blog! The points in this blog have also been covered in the video above, but if you would rather read, then you’re in the right place!
If you are new to iMeshh, check out our homepage HERE to learn about our vast library of furniture 3d models for your next architectural visualization project.
Why did we create this blog?
As you may know, I have a habit of making quite long archviz tutorials for Blender which are jam packed full of information, and I realize not everyone has time to sit through these long videos.
So, I wanted to make a top 10 iMeshh archviz tips in the form of a blog for making better architectural visualizations. This will include information I’ve already covered in these long tutorials, as well as new tips I haven’t mentioned before. Most of these tips will be suitable for most render engines, and not just limited to Blender so do keep regardless of render engine.
Camera 90 degrees!
This is one I see all the time, and this is having the camera not 90 degrees. This makes the room feel like it is falling and in general just makes the image look unprofessional.
I see people argue online that it is totally fine, it doesn’t make any difference, or maybe even that it is part of their own creative freedom. Well the fact is, wonky camera’s simply do not look as good or pleasing to the eye as straight cameras.
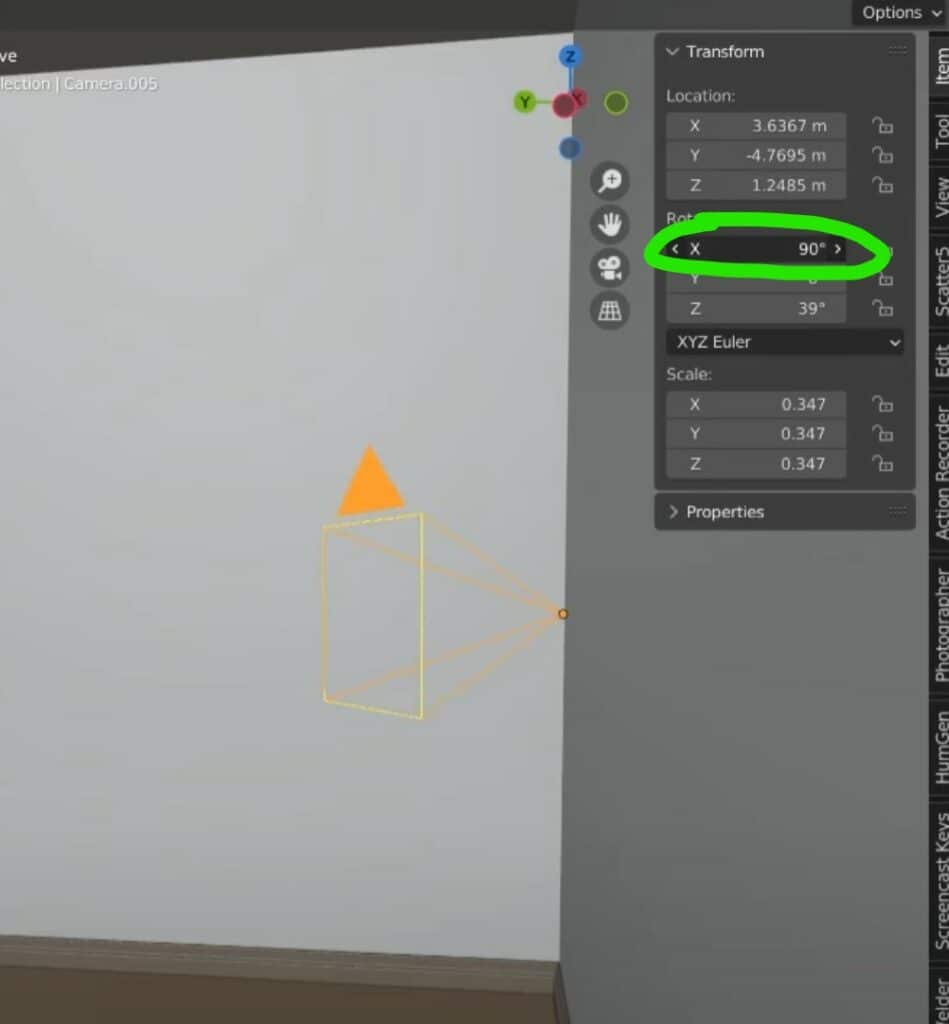
The brain likes symmetry and the brain generally sees the world straight and at 90 degrees to the floor. Try it! Put your head straight, like normal, and look at a wall… its straight! The brain even rotates the eyes in an attempt to keep everything straight by using the oblique muscles in the eye. Yes your eyes actually rotate on that axis too.
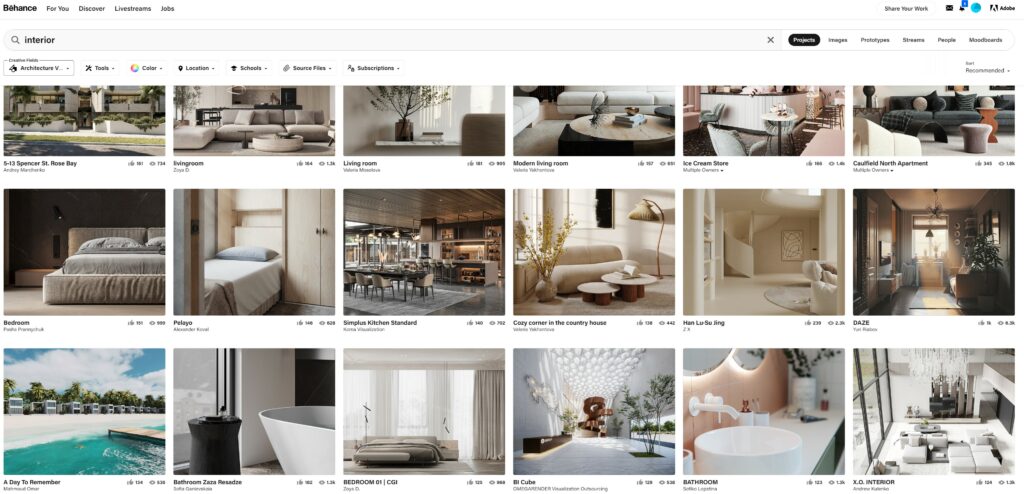
Lets check out a quick Behance.com search for some archviz renders, and you will find not one wonky camera in sight (for standard room shots anyway)! Surely they know what they are doing over there.
Now, there are some exceptions of course. Sometimes a high up shot looking down to the floor can be an interesting idea. This type of shot is so different to the normal shot that the brain understands that its so different and doesn’t try to correct it.
Also close up shots focusing on a small area. These types of shots simulate the feeling that you are bent over looking at this object. So yes a wonky camera actually feels more natural in these types of architectural projects.
This is an easy rule to follow and a very quick way to help keep your archviz renders looking professional.
Post Production
Post production… I say this time and time again, and I will be releasing post production tutorials in the near future, but this is one of THE most important steps for any arch viz artist.
Hell any 3D artist and not just an arch viz artist must add post production to their utility belt of tools.
It is very rare that you can take a render out of Blender and it be 100% completed without any post production. Post processing can push an image to the next level. I’d argue every raw render can be boosted in some way using post production.
I recommend that everyone check out some techniques to elevate your image. I would personally recommend using Photoshop, or Affinitiy photo which is much cheaper, or even any free photo editing software. There are so many options that you’d be silly not to.
Learn some simple techniques, such as using levels or curves to add a bit of contrast, or to push the shadows or highlights.
I would not generally recommend the Blender compositor because I find it to be very slow and by saving out the raw render, you can then also edit it later or change things more easily in Photoshop. You can also make patches or fixes in photoshop if you need to, without needing to re-render.
Architectural visualizations MUST have post pro applied in some form. Give it a try, your rendering will only benefit from it.
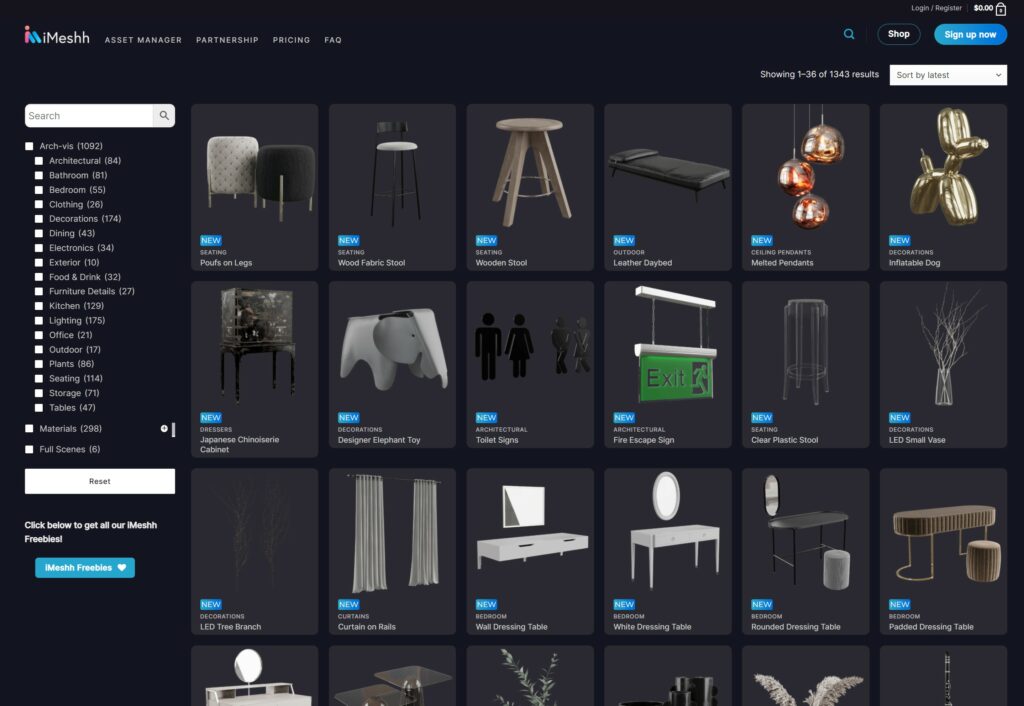
Paid Assets for your architectural projects
Yes I will be biased because we sell 3D models, but I stand by this point until my dying breath. That is to use paid assets or even free assets made by a professional to elevate your architectural visualizations.
Now, I do think everyone should understand the basics for modelling. You are for sure going to get clients to ask you to “make the sofa larger”, or “make the table thinner”, “make this part of the object a different material” etc. So having modelling skills is a good idea to have.
However, modelling furniture to a professional level is a skill that takes time to master. The same goes for Archviz, which is its own skill.
If you want to make a career in Archviz, you need to get good at Archvis. Don’t waste time making assets. Make use of paid assets to accelerate your own work. They have done all of the heavy lifting for you, so don’t waste your time!
I know where this feeling comes from though. When I started out I felt like my clients will only be impressed if I made the image AND furniture myself, but that simply is not the case. Your client will not care in the slightest as long as the final rendering is beautiful.
You don’t see photographers building all their furniture in real life before a photoshoot… Its a waste of time.
Mood Boards
I love mood boards. My Pinterest, over the past year, has been growing with every new project I have. I actually need to start cleaning this up a bit…
Every professional 3D artist uses mood boards to help build their idea, get inspiration and to help them if they get stuck. Now, don’t confuse this simply copying someone else’s work. You shouldn’t find a room you like and make your visualization exactly 1 to 1. But rather, one set of renderings could set the mood, another set could be for the types of furniture you want to use, another set could give you ideas of the type of story you want to portray. You want your these mood boards to help give your rendering an edge that you might not be able to achieve just going off of your own head.
Perhaps you are trying to make a Mediterranean visualization and you have been making these for 15 years. Yes, in this case I am sure you’ve got a very good idea how to make this rendering look perfect without mood boards.
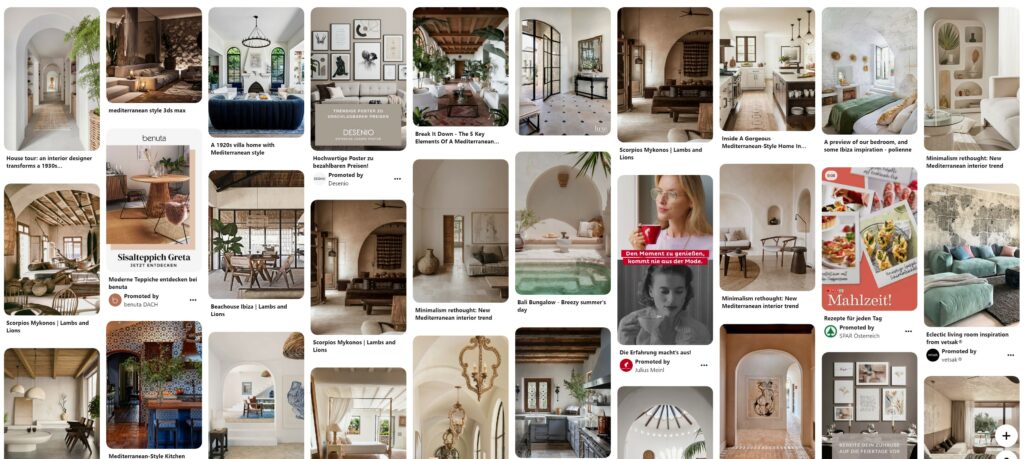
I would recommend the software Pure-Ref which allows you to quickly and easily build mood boards on your PC.
You won’t believe how much more efficient your projects will go if you just use mood boards to start with! Again, this should be a critical tip to make use of in your next project.
Sun Positioner
I haven’t covered this in any of my tutorials yet, but I use this regularly for most projects I have to do inside 3DS Max, and that is using the Sun Positioner. This is a free tool that comes with Blender. To find the tool go to Preferences, Addons, and then select the sun tool here. After this, you can not only link the sun in the viewport to the sky texture, or even HDRI, but you can also choose whatever time of day you want for your visualization rendering!
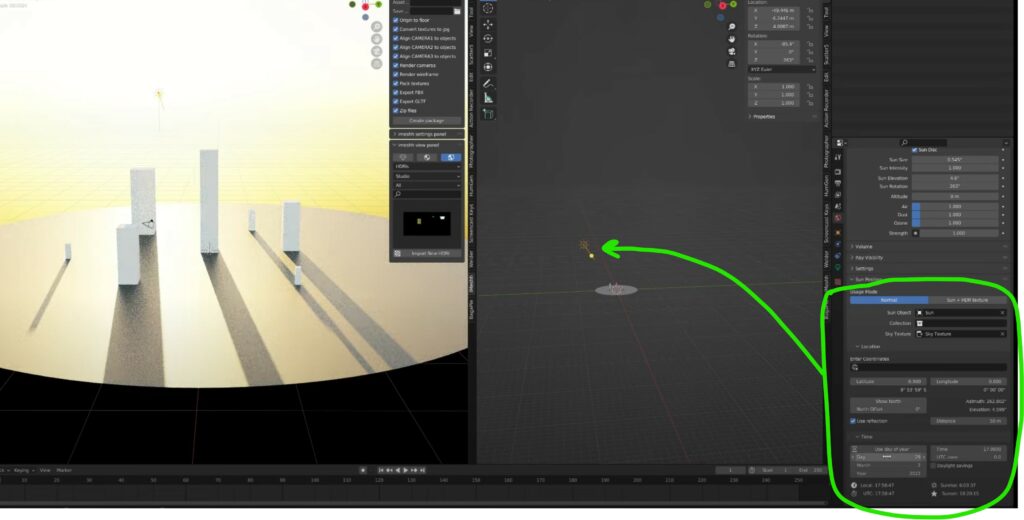
This is INCREDIBLY important to construction companies wanting to sell their projects. Interior designers, for example, will often want you to show off their room renderings with the best sun position you can get for that particular room.
Is it a south facing room with tons of sunlight, or is it a north facing room where the sun only cuts through in the mornings or evenings? This tool helps you with showing off the architecture in a more scientific and exact way, while still being art.
Just set the location, time of day, and you’re done!
Not only that but you can realistically animate the sun moving across the sky for a time-lapse type visualization animation!
Your visualization will benefit from gorgeous shadows
This is a personal archviz favourite of mine, it’s a small tip but don’t forget that shadows are your friend, and you can easily make them and your lighting more appealing. If the sun is coming in and going against a wall from a garden, then why not add a nice plant outside the window to cast some gorgeous shadows on the wall?
Personally, this ALWAYS looks good in architectural visualization. I love it! It feels like such an easy trick to improve your lighting that you would be silly not to use it.
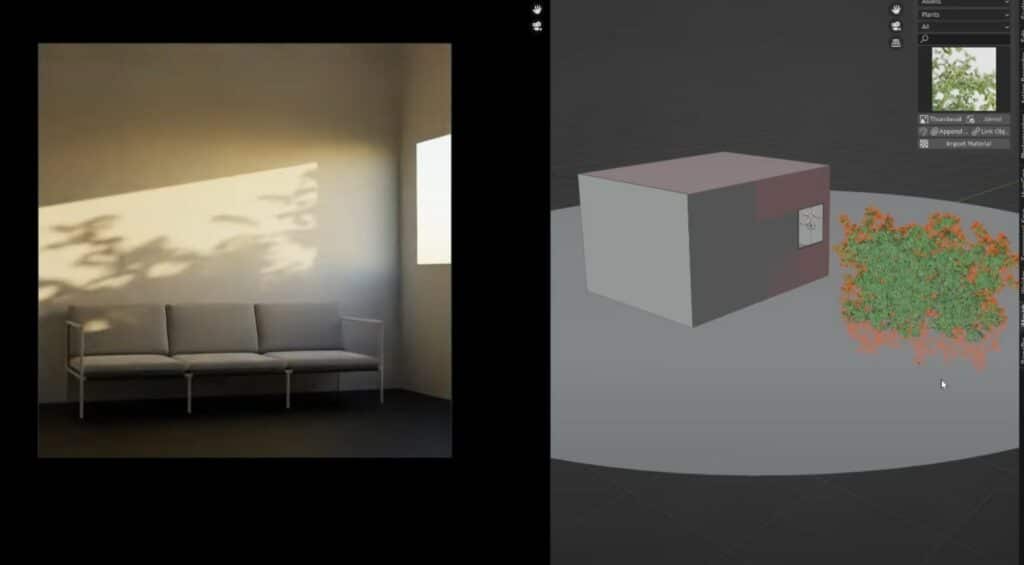
There are also many other ways to make this more interesting. Maybe there was just a storm, putting rain on the windows, and now the sun is coming through the windows casting a gorgeous rain covered window look on the wall. This type of architectural visualization is telling such an interesting story that all artists can really play with.
Shadows are your friends, you can make them pretty! Use them in your next rendering! 🙂
Experiment with new techniques
Lets talk about the art of getting stuck in the same-old same-old type of visualization. I see artists who have created a portfolio of various images, and they keep updating their portfolio with… well.. the same looking rendering. They do not stray from their original content and to be honest, I don’t really see them improving in their visualization projects much at all.
Maybe they produced the images and got paid work from them and they kind of thought, “well if its not broken, then why fix it?”. Well, it might work initially and get them a reasonable price, and they might be happy with the work they are getting. But if they want to improve their images then they must experiment with new techniques in their software of choice, learn new things and generally try to break away from the norm.
This ambitious way of working and always striving to make each architectural visualisation better than the last will help get better clients, more visualization work and generally a bigger social following, which, is the goal of the majority of any 3D arch viz artist.
There are so many resources online which they can follow to get new cool techniques, cough imeshh.com cough, so if you have a new room coming up, try something new with that architectural visualization. Try a new sun technique or new camera positioning and see what happens. Maybe you find a new style that you can call your own which can help you stand out against the others!
I would also recommend looking for a full Online course if possible. They are usually a much more dense way of learning which could supercharge you to your next archviz studio.
Use addons
So, Blender is open source and this means it is incredibly easy to create addons for the software and generally there is a saying if you’re stuck and need a specific tool “there’s an addon for that”.
Honestly it is quite mind boggling the amount of addons that come with Blender. There are even separate branches made out of Blender to speed up rendering such as E-Cycles. Or addons which even come with Blender already and you just need to activate them, like the sun positioner addon.
I do plan on making a new video going over some cool addons to help you with your arch-vis career. But generally for this point, I want to remind people that they should NOT be scared about using addons or trying a new workflow based on specific addons. They are often very easy to understand and to get working, and will usually make you more efficient and give you more time to work on things you enjoy most like the lighting or composition.
I promise you that all professionals use addon’s and so should you.
Large, medium and small details to elevate your architectural illustration
This concept is well known throughout the whole artistic community, and is not limited to just arch-vis. However I just want to remind people that this is a thing, and should be taken seriously.
And what is that concept? That is to work on scenes by first blocking out the large details, before moving to the medium details and finally working on the small and micro details in a scene.
This will help you to block out where everything should go, such as adding sofa, kitchen table. Then you can sit there and think what are the medium sized details, and you can add items such as cushions, blankets, curtains.
Then once they are all done you can work on the microdetails. Such as adding glasses, small plants, books, decorative details. Or even add specific smaller materials details such as dirt or placing a nice part of a wood in a more obvious location.
All of these things combined will help to make a more interesting and hyper realistic architectural visualization. You could even photograph your own room, and try to classify which are the large, medium or small details in your own room. This can be good practice and help you to realise how this could work in your upcoming projects.
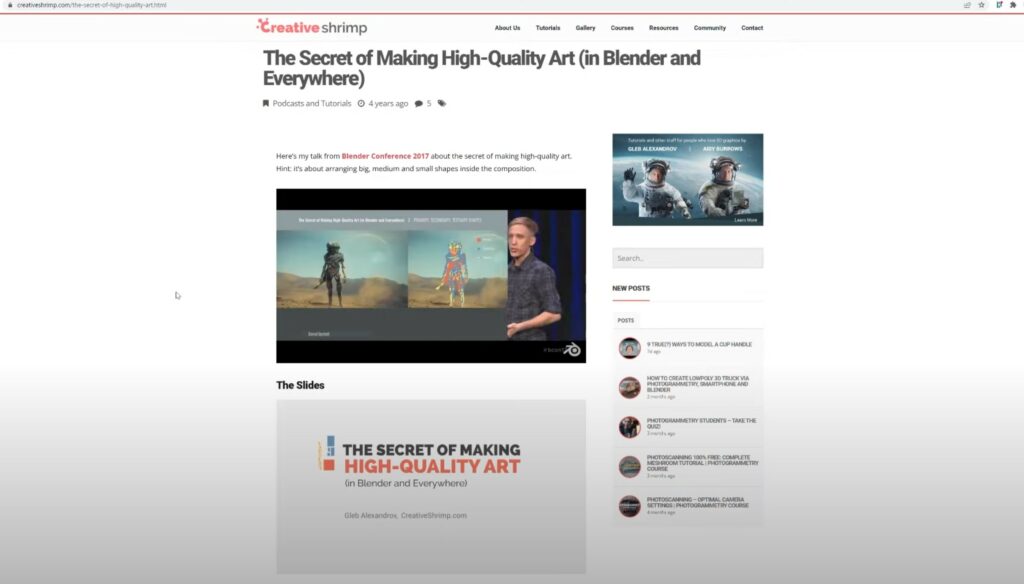
I’ll link to a Gleb Alexander video now where he covers this in a lot more detail. Highly recommend this watch!
Dirt up your architectural rendering
This one is a little controversial and generally I think has become a little bit of a joke. Any render posted onto certain Facebook groups or other blender groups will get someone in the comments saying “this needs dirt”.
Yes I do think most things need a little bit of variation and generally most models we release on iMeshh actually also come with this dirt already built into the materials (and can be reduced as well) but the level of dirt that some people are asking for is simply way too much. Their materials end making their scenes look like someone has walked through the house with dirty shoes on and wiped all the walls.
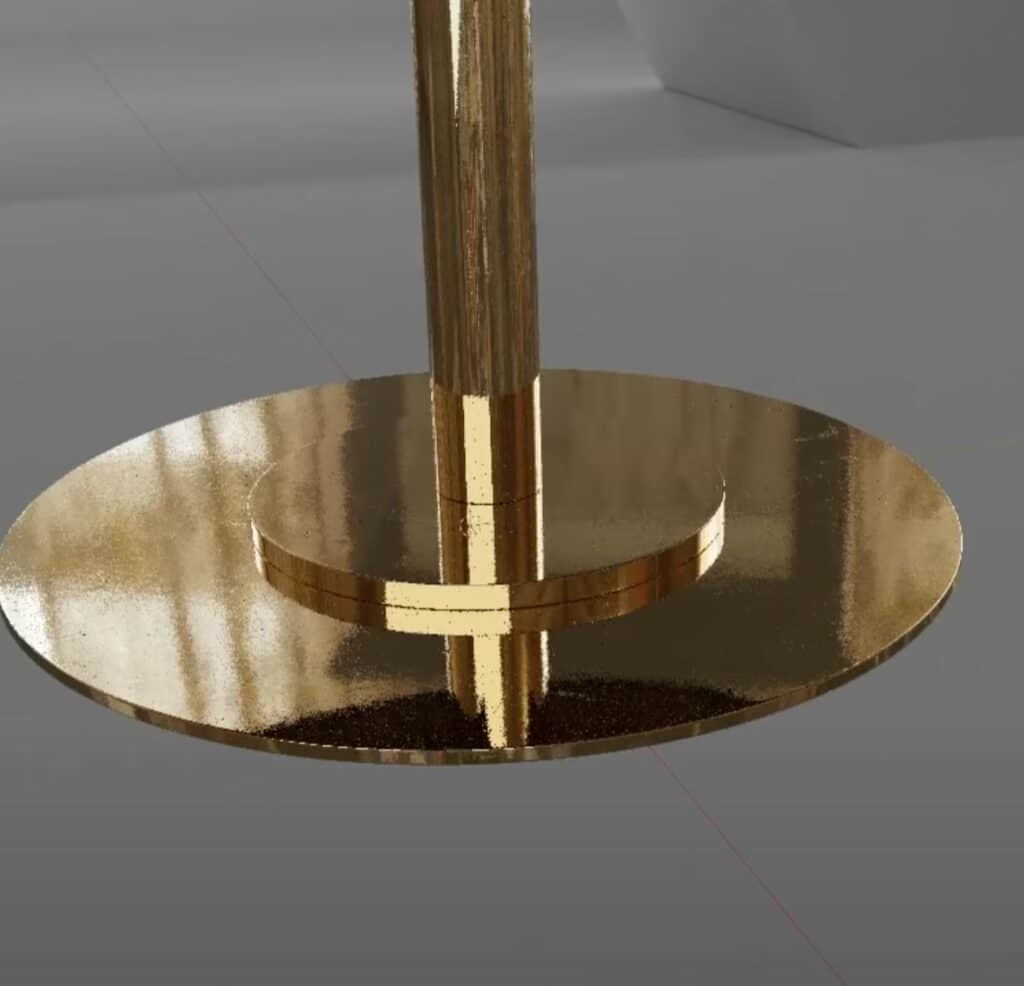
The dirt and grime on some surfaces should only just be visible and should only add a very slight variation to the original material. Of course this is material dependent.
In real life, most things do have variations but most people don’t walk around with totally filthy walls, floors and other surfaces. They might have a worktop which has only a very slight variation to the roughness.
I think there is a skill involved in adding dirt but not over-doing it, and adding only the necessary amount that it doesn’t begin to just look, well, dirty.
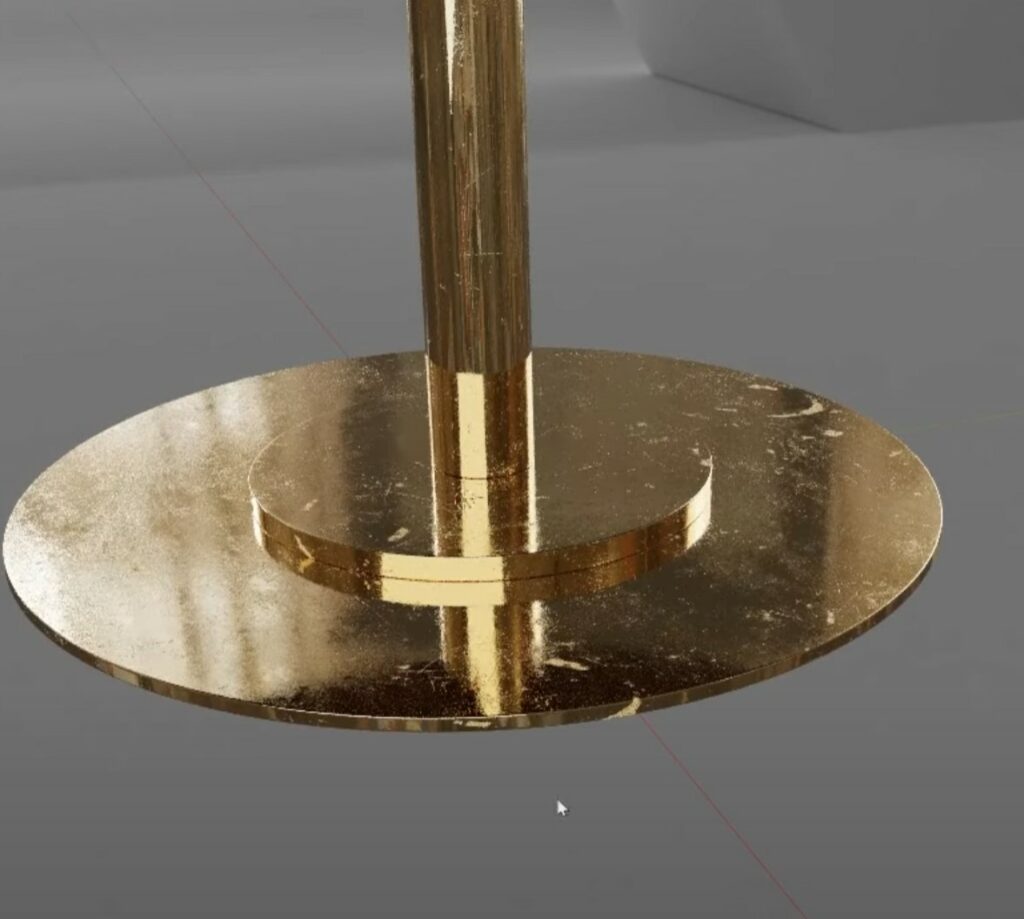
This is incredibly apparent in Arch-vis where you are generally creating brand new apartments, with new bathrooms, and new kitchens, on new balconies. Everything is new and I guarantee if you add a room which is TOO dirty, your clients will ask you to remove it. Guaranteed.
If you are making a room, and you think it does not look realistic, I ALWAYS try to work on the lighting, composition and everything first before going in and adding dirt.
So yes, lets add dirt and grime, but remember the scene setting and don’t over do it.
Conclusion
Architectural visualization is an incredible tool for 3D artists, interior designers and everyone else and there are some incredible key principles that everyone must follow.
I recommend everyone looks at every step of their architectural visualization process, and think how you can improve your work in the future.
If you want to kickstart your archviz studio career then please do check out https://www.imeshh.com for an absolutely stonker of a deal for 3D furniture models 🙂
Hi Kristian, thanks for this great insight .. i’m not the Arch-vis designer but the concept blow my mind as graphic designer, summoned back my long-buried desire to try the arch-vis path 😄
there is one thing that stuck in my mind. How about an AI Arch-vis (designer?)? Is being a conventional designer still relevant in the future amidst the onslaught of AI which is capable of producing visual output quickly, even being able to provide many options .. which can change client behavior to increasingly demand faster but good results.